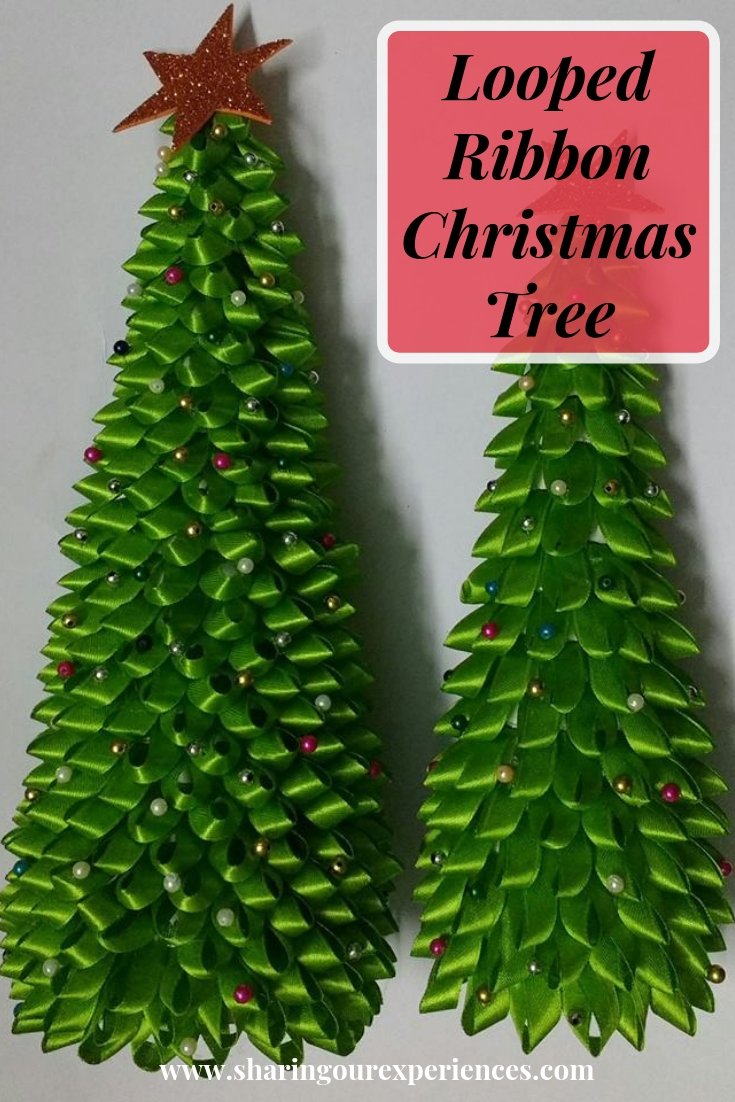
Christmas is around the corner and you are looking for Christmas tree ideas ? Here is a step by step tutorial with pictures to help you with Looped ribbon DIY Christmas tree.
We all know it is much more fun to make Xmas tree and decorations yourself then buy them off the shelf.
You can involve your kids in this very easy and unique DIY Christmas tree activity and inculcate their creativity. As making this will not take more than 20 minutes and these trees are perfect Christmas decor for tables, buffets, window sills and at times can even form your centerpieces.
So here is a step by step tutorial on how to make a Christmas Tree with Paper and Satin Ribbon
Materials needed to make a Christmas Tree
- Satin Ribbon
- Scissor
- Glue stick\Hot Glue Gun
- Lighter
- Paper (Hard enough to make a cone which will server as base for Christmas tree)
Step by Step process on how to make Christmas tree using paper and Satin ribbon
Step 1 – Take Paper and fold it to make a cone
Step 2 – Cut many strips of Satin Ribbon
Step 3 - Loop Satin Ribbon strips as shown
Step 4 – Burn off extra edges for Looped ribbon using a lighter
Step 5 – Start sticking Looped ribbons. Start from Bottom and work your way up
Step 6 – You can add a star at top or some beads for decoration.
Your Looped ribbon Christmas Tree is ready. You can make it with green ribbon or any other colour of your choice.
Don’t miss to pin

Do let us know if you tried something similar using comments section below.
These pictures were first published on author’s blog
Liked this post?
You may also be interested in Christmas Tree Crafts Ideas for toddlers and preschoolers
Your Turn Now
In case if you liked this article do show your support by sharing this article.
Like our Facebook PageÂ
Stay connected with us using your favorite social media, we can be found on
Add a comment
Don’t you find this Christmas craft idea interesting and beautiful ? Try it and let me know using comments below. Would love to hear from you.


